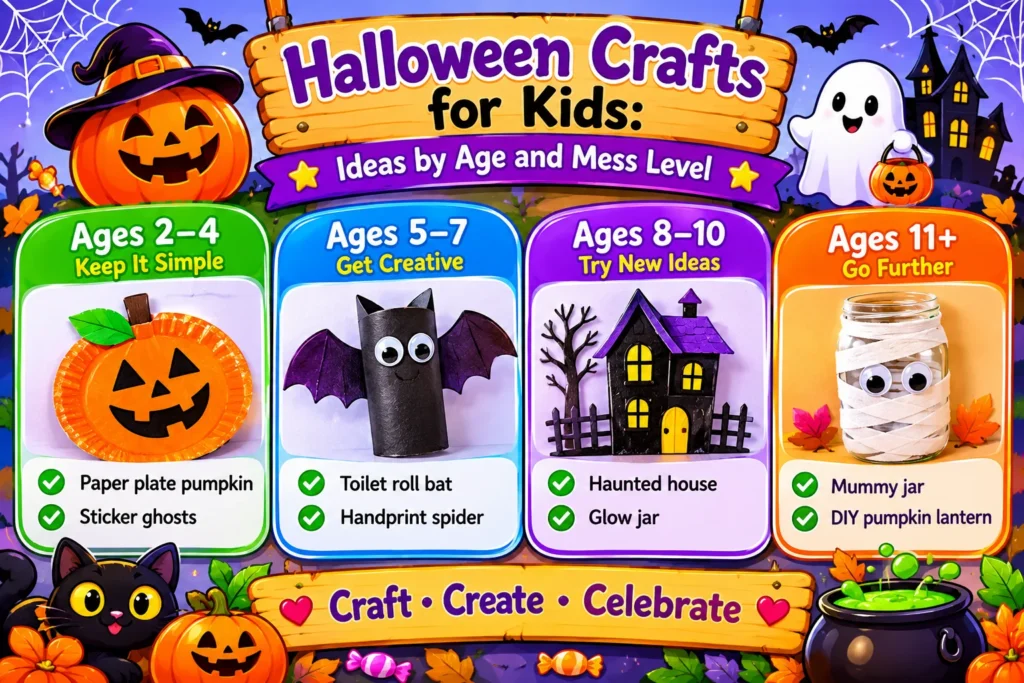
Halloween craft time should leave kids proud and the kitchen table still usable. The trick is matching the project to the child and keeping materials simple. This guide to Halloween crafts for kids covers what to try at each age, a 3-2-1 planning method that keeps setup short, and a comparison of popular crafts by mess and prep time so you can choose the right one for your space.
Quick answer: For Halloween crafts for kids, pick a project that matches the child’s age, offer three to five materials, and keep the spooky level friendly. Start with low-mess options like paper bats or pumpkin collage, then move to paint, clay, or sewing as children gain confidence.
Why Seasonal Crafts Work So Well
A holiday gives children a reason to make something. Pumpkins, ghosts, and bats are shapes they already know, so they spend less time wondering what to create and more time deciding how to make it their own.
Seasonal crafts also build real skills. Tearing paper, cutting along curves, and pressing glue strengthen the hand muscles used for writing. Choosing colors and arranging pieces builds planning. And because Halloween is playful, even hesitant children are often willing to join in.
Match the Craft to the Child
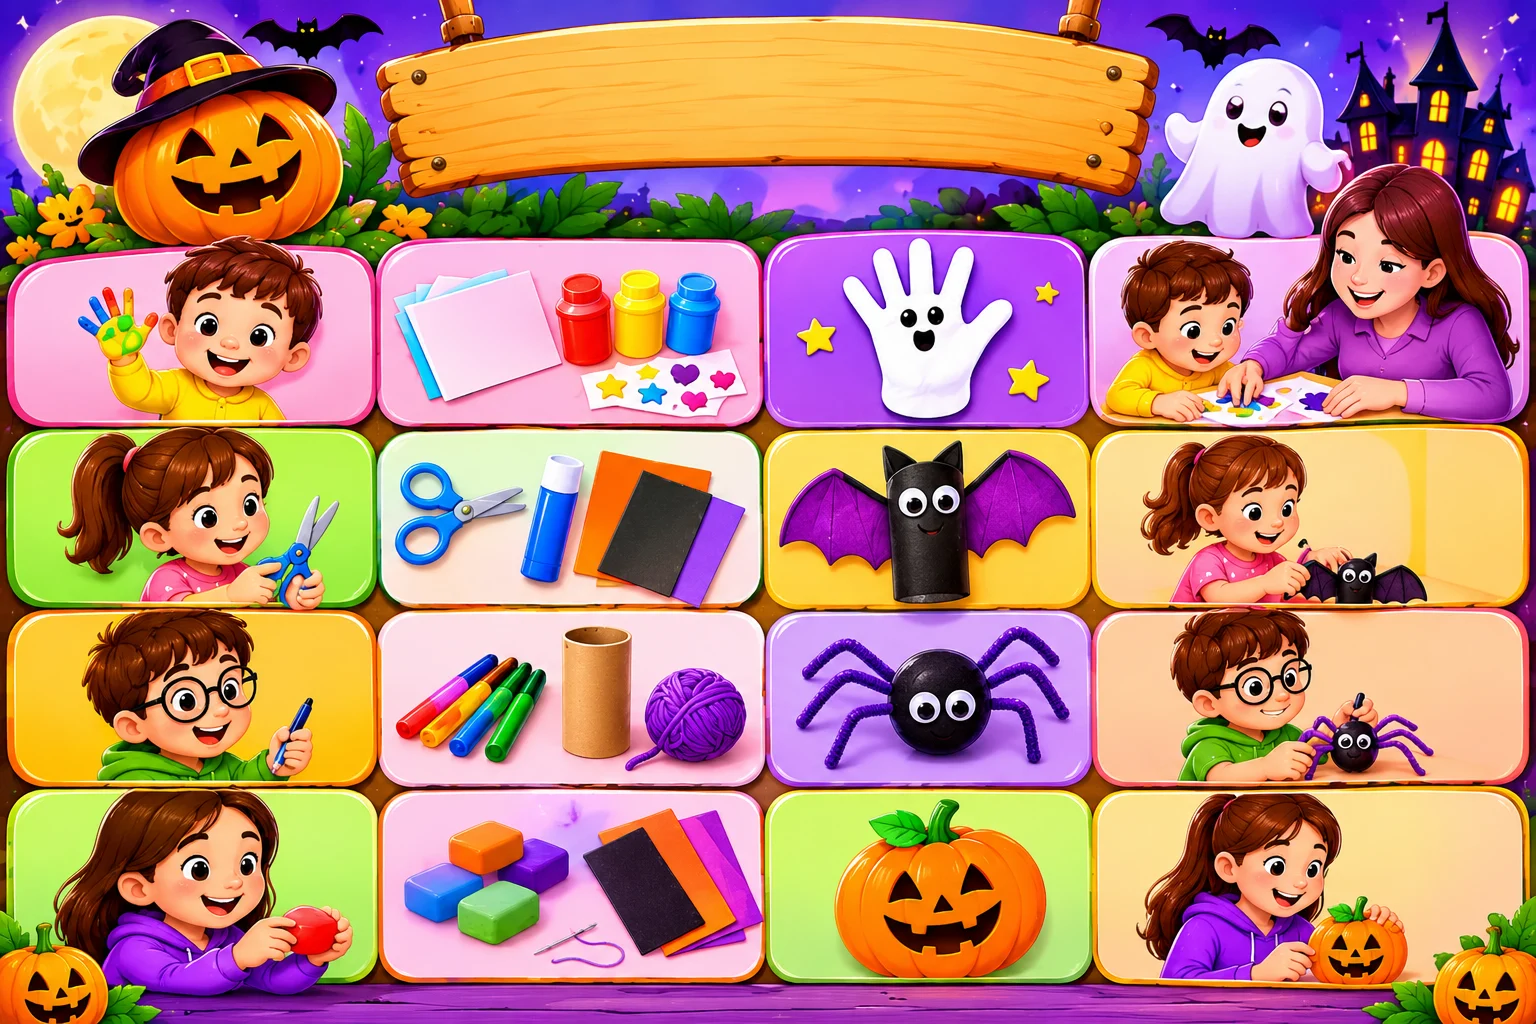
Children do not need the same projects at every stage. Fiddly tasks frustrate young kids, and simple ones bore older children. Use this table as a starting point, then adjust to the individual child.
| Age range | Good materials | Starter craft | Adult role |
| 2 to 3 | Large paper, washable paint, stickers | Handprint ghosts or sticker pumpkins | Set up, supervise closely |
| 4 to 5 | Child-safe scissors, glue sticks, construction paper | Paper plate bats or spiders | Show once, then step back |
| 6 to 8 | Markers, cardboard, yarn, paint | Cardboard tube monsters or yarn spiderwebs | Help only when asked |
| 9 and up | Clay, felt, simple sewing, acrylics with supervision | Clay pumpkins or felt bat ornaments | Safety checks, then independence |
If a child seems stuck, choose a simpler project. If they finish in a few minutes and ask for more, move up a level.
The 3-2-1 Craft Plan
Most craft stress comes from last-minute setup. This quick framework keeps sessions short and calm.
Three Materials
Lay out only three main materials, such as black paper, white paint, and googly eyes. Fewer choices help children decide faster and often lead to more original results.
Two Steps
Break the craft into two stages, for example “make the shape” and “add the face.” Short stages suit young attention spans and make cleanup less of a surprise.
One Goal
Give the child one small goal, such as “make a friendly monster” or “make a ghost that looks surprised.” A single goal keeps ideas focused without limiting creativity.
Craft Types Compared by Mess and Prep
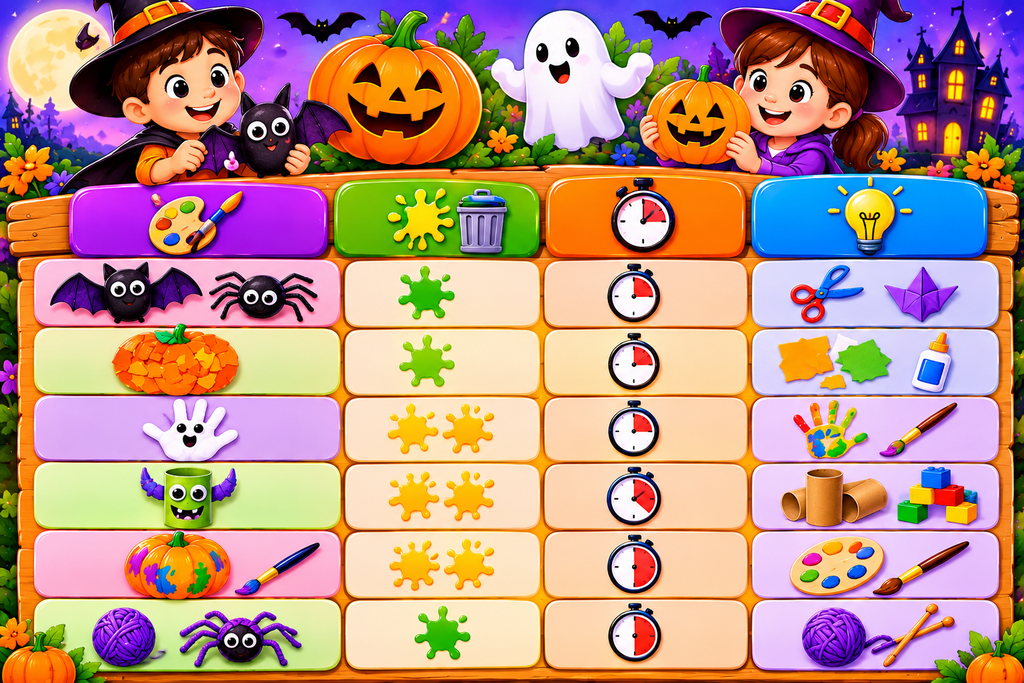
Not every craft suits every day. Use this comparison to pick an activity that fits your energy level.
| Craft type | Mess level | Prep time | Skills practiced |
| Paper bats and spiders | Low | Short | Cutting, folding, design |
| Pumpkin collage | Low | Short | Tearing, gluing, color choice |
| Handprint ghosts | Medium | Short | Pressing, pattern, color |
| Cardboard tube monsters | Medium | Medium | Building, problem solving |
| Painted pumpkins | Medium | Medium | Brush control, planning |
| Felt and yarn crafts | Low | Medium | Patience, fine motor control |
On a busy evening, choose paper bats or pumpkin collage. On a relaxed weekend, try painted pumpkins or monsters. For more seasonal ideas, browse our holiday activities and crafts for kindergarteners.
Easy Halloween Craft Ideas to Try
You do not need elaborate plans. These ideas use common supplies:
- Paper plate monsters: Paint a plate, then add eyes, teeth, and yarn hair.
- Cardboard tube bats: Paint a tube black and add paper wings.
- Pumpkin paper collage: Tear orange paper and glue it onto a pumpkin outline.
- Coffee filter ghosts: Wrap a filter around a cotton ball and add a face.
- Spiderweb painting: Tape a web pattern on paper, paint over it, then peel the tape.
Rotate ideas through the week so children can compare how each tool feels.
Safety Basics for Spooky Season
A few quick checks keep the fun going.
- Skip hot glue for young children: Use glue sticks or white glue instead.
- Watch small parts: For children under three, avoid buttons and tiny googly eyes.
- Leave carving to adults: Let children draw the face and scoop seeds, and have an adult handle the knife.
- Check labels: Choose paints and clay marked non-toxic.
- Test face paint first: Use products made for skin and test on a small patch.
Skills Hidden Inside the Fun
What looks like play is full of learning. Here is what children practice during these projects:
- Fine motor control: Cutting, folding, and gluing prepare hands for writing.
- Creative thinking: Open-ended faces and shapes teach that there is more than one answer.
- Math ideas: Counting eyes, legs, and wings builds early number sense.
- Language: Naming a character and telling its story grows vocabulary.
- Focus: Finishing a project builds persistence.
Craft Session Checklist
Copy this list onto your fridge for easier sessions.
- The craft matches the child’s age and attention span
- Only three main materials are out
- The workspace is covered
- Wipes or a damp cloth are within reach
- A drying spot is ready
- The child has one small goal
- Finished crafts have a place to be displayed
Make It, Hang It, Enjoy It
Halloween crafts do not need to be scary, expensive, or perfect. A few well-chosen materials, a project that fits the child’s age, and a relaxed attitude are enough to create decorations they will proudly point out for weeks. Praise effort, ask open questions, and let each finished piece lead to the next idea.
This week, pick one project from this guide, set out three materials, and let your child lead. Halloween crafts for kids get easier every time you repeat the routine.