Orchids look fancy, but they are built from simple parts that children can learn quickly. Coloring orchid pages gives young artists a gentle way to practice grip, color blending, and careful looking, while introducing one of the biggest plant families on Earth. This guide covers how to match a page to each age, a three-step routine that adds observation to coloring, and a comparison of popular orchids you can use for color ideas.
Quick answer: For coloring orchid pages, pick a flower with a clear shape, offer a small palette of three to five colors, and ask the child to look at a real or photographed orchid before coloring. Start with large petals for beginners and move to detailed blooms for older children.
Why Orchids Make a Great Coloring Subject
An orchid flower has a few repeating parts: petals, a center lip, and a long stem with buds. Children can spot these parts easily, which makes the page feel manageable even when the flower looks elaborate.
Orchids also come in a wide range of colors, from white and pink to purple, yellow, and spotted patterns. That variety gives children permission to experiment. A purple orchid with orange stripes is still a good orchid, and real ones can be surprisingly bold.
Match the Page to the Child
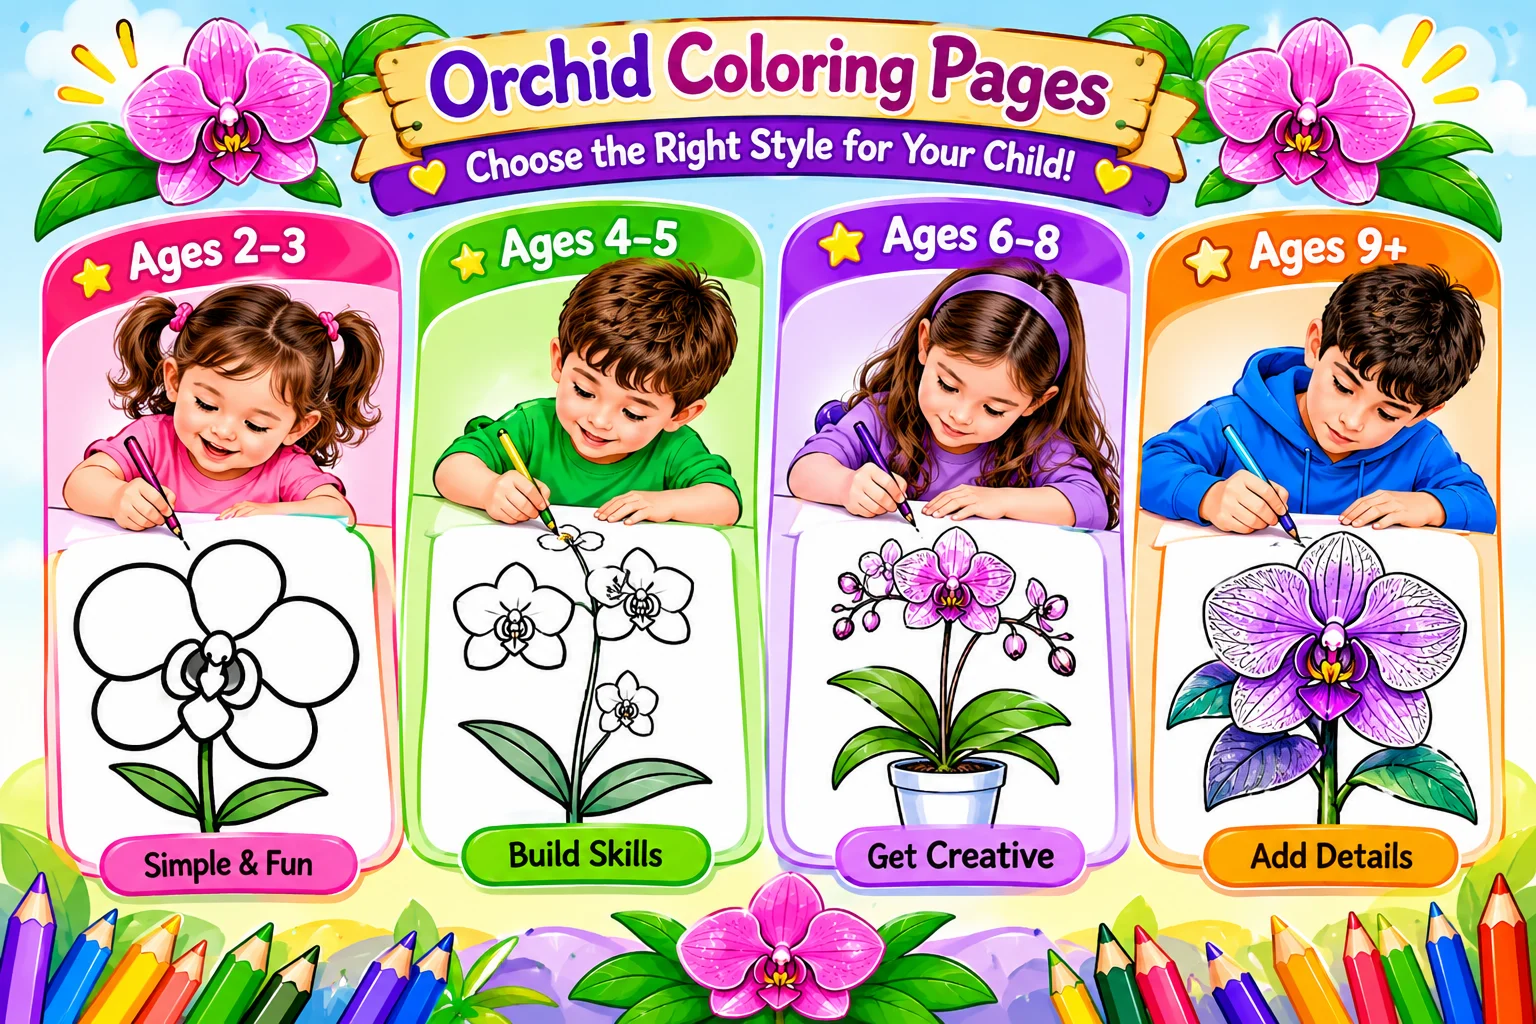
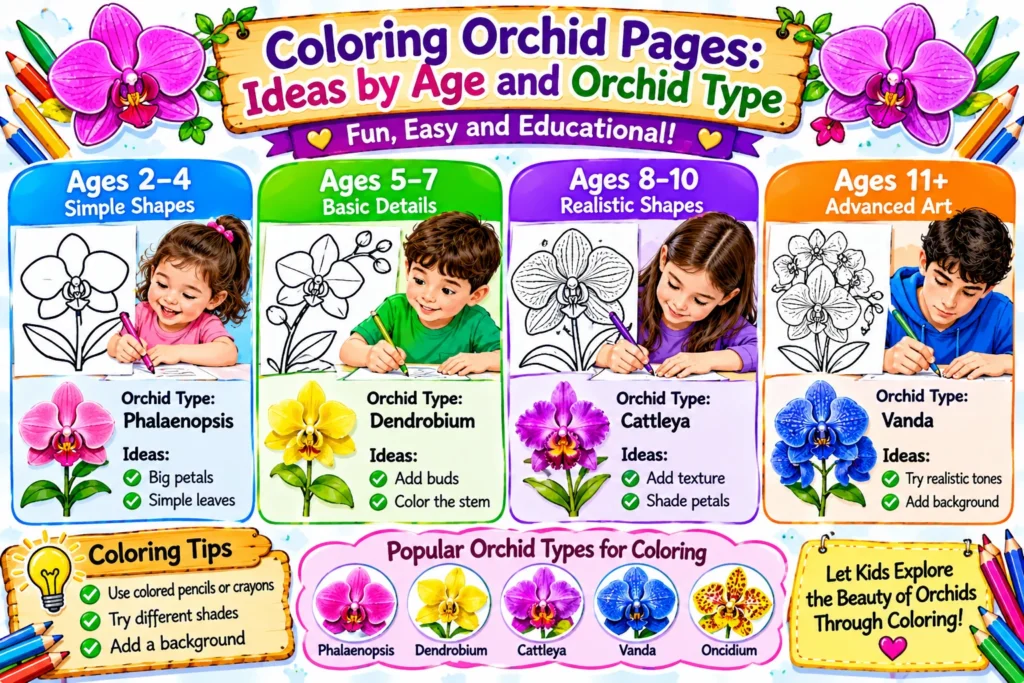
A page that is too detailed frustrates beginners, and one that is too plain bores older kids. Use this table as a starting point, then adjust to the individual child.
| Age range | Best page style | What it builds |
| 2 to 3 | One large flower, thick outlines | Grip, scribbling, color names |
| 4 to 5 | Single stem with a few open blooms | Staying inside lines, color choice |
| 6 to 8 | Full stem with buds, leaves, and a pot | Planning, blending, fine motor control |
| 9 and up | Detailed petals with veins and spots | Shading, patience, observation |
If a child seems stuck, move one row up the table. If they finish in two minutes, move one row down.
The Look, Layer, Label Routine
Free coloring is fun, but a small structure keeps attention longer. This routine takes about twenty minutes and works for one child or a whole group.
Look
Show a photo, a picture book page, or a real orchid if you have one. Ask children what they notice: how many petals, where the darkest color sits, and what shape the center has. This short pause turns coloring into observation.
Layer
Encourage children to color in layers. Start with a light base color across each petal, then add a darker shade near the center. Pressing lightly first and harder second creates a soft fade that looks like a real bloom.
Label
Ask children to name the parts they colored, such as petal, stem, bud, and leaf. Older children can write the labels beside the flower. This adds vocabulary without feeling like a worksheet.
Orchid Types Compared for Coloring
Real orchids offer many styles, and each one brings a different coloring challenge. Use this table to choose a flower or to turn a simple page into a mini science lesson.
| Orchid type | How to spot it | Coloring tip |
| Moth orchid | Wide, flat blooms on an arching stem | Try soft pink or white with a darker center |
| Cattleya | Large ruffled lip and showy petals | Use bold purple with a bright yellow throat |
| Dendrobium | Many small flowers along one stem | Alternate two colors along the stem |
| Dancing lady | Tiny yellow blooms with a wide lip | Use yellow with brown spots |
| Lady’s slipper | A pouch-shaped lip like a small shoe | Color the pouch in a contrasting shade |
| Bee orchid | A flower that looks a bit like a small bee | Add fuzzy brown and gold details |
Ask the child to pick one type and look at a picture while coloring. It adds a small observation task and makes each page feel different.
Fun Facts to Share While Children Color
A few short facts can keep curiosity high without taking over the activity.
- Orchids belong to one of the largest families of flowering plants in the world.
- Vanilla flavoring comes from the seed pods of a vanilla orchid.
- Orchid seeds are extremely tiny, much smaller than the seeds children usually see.
- Many orchids grow on trees or rocks instead of in soil.
Pick one fact per session and let children share what surprised them.
Easy Ways to Make It Special
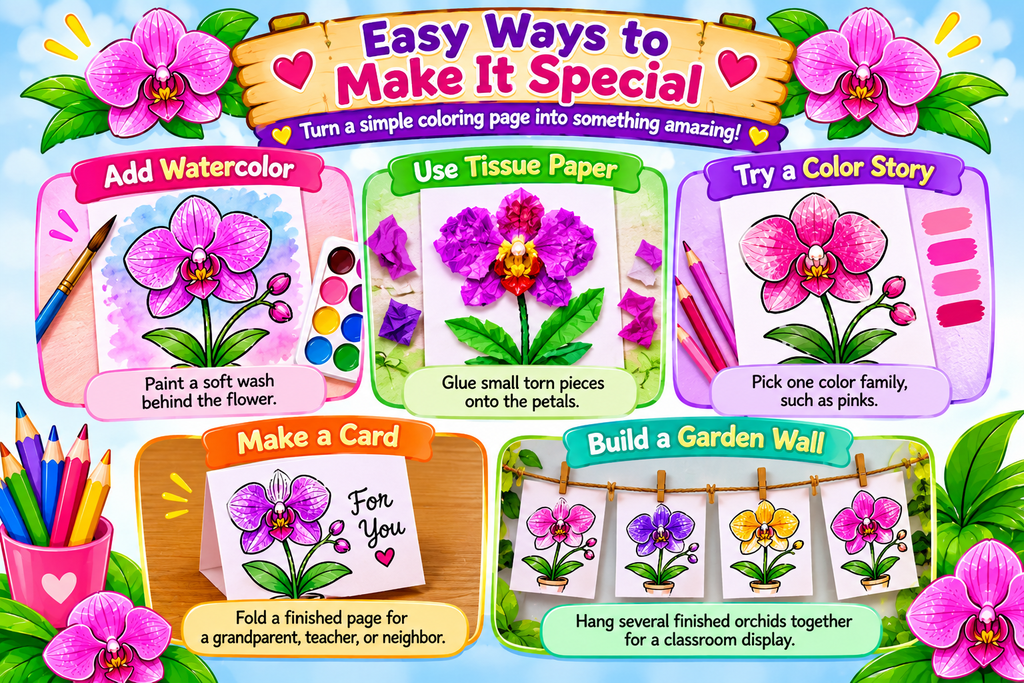
A few small changes can make the same sheet feel brand new.
- Add watercolor: Paint a soft wash behind the flower for a gentle background.
- Use tissue paper: Glue small torn pieces onto the petals for a textured bloom.
- Try a color story: Pick one color family, such as pinks, and use only its shades.
- Make a card: Fold a finished page for a grandparent, teacher, or neighbor.
- Build a garden wall: Hang several finished orchids together for a classroom display.
Setup Checklist Before You Print
Run through this list so the activity goes smoothly.
- The flower detail matches the child’s age
- Crayons, colored pencils, or markers are sorted and ready
- A real orchid photo or picture book is nearby
- Each child has a clear workspace
- Extra sheets are available for restarts
- A display spot is ready for finished work
Petals Up, Pencils Ready
Orchids may look complicated, but a child needs only a few colors, a little time, and a closer look to make something lovely. Keep the goal small, celebrate effort over neatness, and let each child decide which colors feel right. A wobbly orchid with a bright center is a flower worth hanging on the wall.
This week, print one page, set out four colors, and ask your child to describe the orchid before they begin. Coloring orchid pages becomes easier, and more fun, every time you repeat the routine.