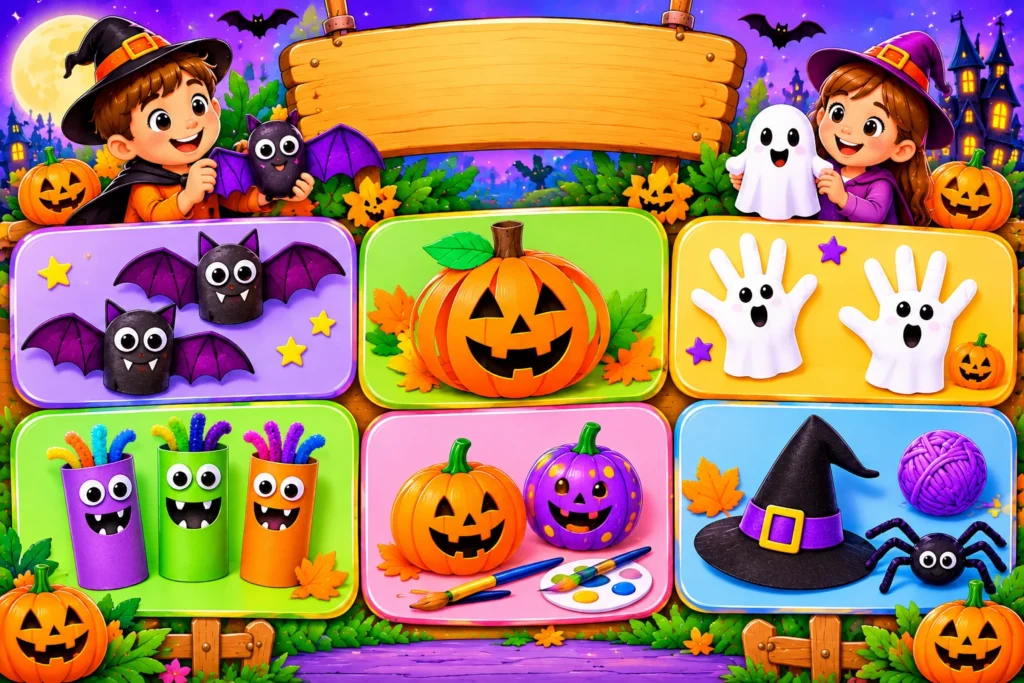
Most Halloween craft lists are sorted by theme, which does not help when you only have ten minutes before dinner. This guide to Halloween crafts sorts projects by the time you actually have, then shows which supplies from your recycling bin and kitchen drawer can do the job. You will find a three-tier time plan, a household supply matchup, and a comparison of crafts by cost, mess, and skill level.
Quick answer: For Halloween crafts, choose by time first. Pick a 5-minute project for a busy evening, a 20-minute project for a calm afternoon, and a 60-minute project for a weekend. Use supplies you already own, such as paper plates, cardboard tubes, and coffee filters, and keep to three materials per project.
Why Time Beats Theme When You Plan
Ghosts, bats, and pumpkins are fun, but a theme does not tell you how long a project takes or how much cleanup follows. A craft that needs drying time can ruin a school-night plan, while a quick paper project can fit between homework and bath time.
Planning by time also lowers the pressure. When the goal is “make something in twenty minutes,” nobody expects a perfect result, and children feel free to experiment.
The 5-20-60 Time Plan
This framework groups projects into three tiers so you can pick the right one in seconds.
5-Minute Crafts
These need no drying and almost no prep. They suit toddlers, busy evenings, and classroom transitions.
- Sticker pumpkins: Draw a pumpkin outline and let children decorate it with stickers.
- Paper bats: Fold black paper, cut a wing shape, and add two paper eyes.
- Googly eye rocks or cups: Stick eyes on a paper cup to make a quick monster.
20-Minute Crafts
These involve one round of gluing or painting, with a short wait at the end.
- Coffee filter ghosts: Wrap a filter around a cotton ball, tie with string, and draw a face.
- Paper plate pumpkins: Paint a plate orange, then add a green stem and a face.
- Tube bats: Paint a cardboard tube black and glue on paper wings.
60-Minute Projects
These work for weekends and need planning, drying, or a few steps.
- Tissue paper lanterns: Glue torn tissue paper onto a clean jar and place a battery-powered tea light inside.
- Clay pumpkins: Shape air-dry clay and paint the pumpkin once it hardens.
- Spooky wall scene: Combine bats, ghosts, and moons into one large paper display.
Start every session by asking, “How much time do we have?” The answer chooses the tier for you.
Supplies You Already Have
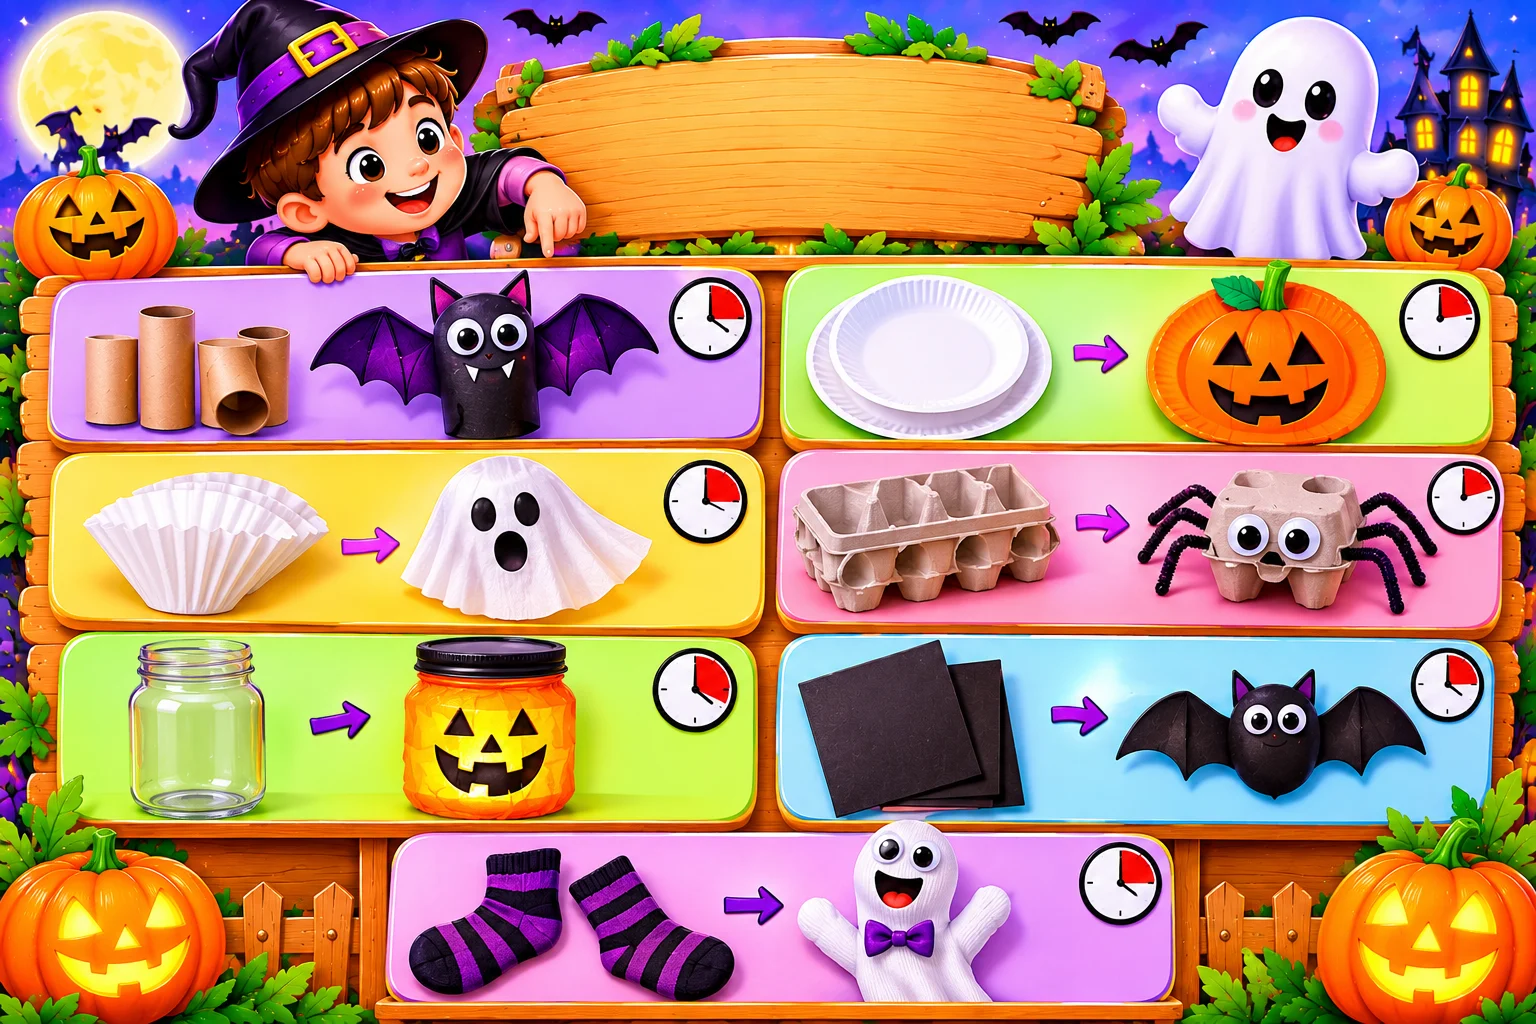
You rarely need a craft store trip. This table shows what common household items can become.
| Household item | Craft it makes | Time tier |
| Cardboard tubes | Bats and monsters | 20 minutes |
| Paper plates | Pumpkins and spiders | 20 minutes |
| Coffee filters | Ghosts and spiderwebs | 20 minutes |
| Egg cartons | Spiders and bugs | 20 minutes |
| Glass jars | Tissue paper lanterns | 60 minutes |
| Black paper or cereal boxes | Bats and silhouettes | 5 minutes |
| Old socks | Simple ghost puppets | 5 minutes |
Keep a small box of extras nearby, such as googly eyes, tape, and washable markers, so a craft can start the moment someone asks.
Crafts Compared by Cost, Mess, and Skill
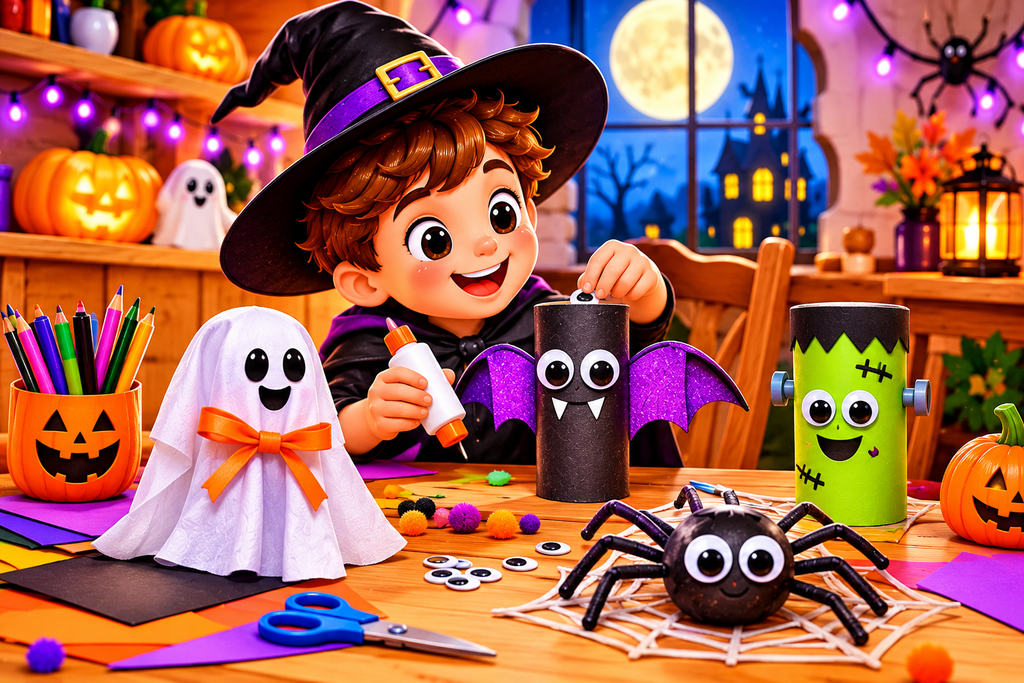
Use this comparison when you want to match a project to your budget and your energy.
| Craft | Cost | Mess | Skill level |
| Paper bats | Very low | Low | Beginner |
| Sticker pumpkins | Low | Low | Beginner |
| Coffee filter ghosts | Very low | Low | Beginner |
| Paper plate pumpkins | Low | Medium | Beginner to intermediate |
| Tube monsters | Very low | Medium | Intermediate |
| Tissue paper lanterns | Low | Medium | Intermediate |
| Clay pumpkins | Medium | Medium | Intermediate to advanced |
If you are crafting with a group, choose low-mess projects first. They are easier to hand out, clean up, and send home.
Tips for Groups and Classrooms
These projects work well in classrooms, scout groups, and library programs when you plan the flow.
- Prep kits in advance: Put three materials for each child in a bag or tray.
- Pre-cut tricky shapes: Cut wings or pumpkin stems ahead of time for younger children.
- Use one demo sample: Show a finished example, then let children make their own version.
- Plan the drying shelf: Set aside a table or clothesline before the activity begins.
- Add a name tag: Write each child’s name on the back before painting starts.
For more seasonal projects that pair with these, browse our holiday activities and crafts for kindergarteners.
Safety Basics for Spooky Season
A few quick checks keep craft time worry-free.
- Choose LED lights: Use battery-powered tea lights in lanterns, never real candles.
- Skip hot glue for young kids: Glue sticks and white glue are safer.
- Watch small parts: Googly eyes and buttons can be choking hazards for children under three.
- Look for non-toxic labels: Check paints, clay, and markers before buying.
- Leave carving to adults: Children can draw the face and scoop seeds, while an adult handles the knife.
Display Checklist
Finished crafts deserve a spot to shine. Run through this list before you finish.
- Each craft has a name or label on the back
- Wet projects are on a drying shelf
- A window, door, or wall is ready for display
- Tape or string is nearby for hanging
- A few extra supplies are set aside for kids who want to make another one
Hang, Glow, Repeat
These crafts do not need to be scary, costly, or time-consuming. Pick the tier that fits your day, grab three materials from around the house, and let children take the lead. Even a quick paper bat can become the star of the window.
This week, choose one project from each tier and see which one your family asks for again. Halloween crafts get easier and more fun every time you repeat the routine.