Craft time can be calm and creative, or it can end in glue on the ceiling. The difference is usually planning, not talent. This guide to arts and crafts for kids covers what to offer at each age, a simple kit system that keeps setup under five minutes, and a comparison of popular craft types so you can match the activity to your space and your energy.
Quick answer: For arts and crafts for kids, match the project to the child’s age, offer three to five materials instead of a full supply closet, and focus on the making, not the final result. Start with low-mess options like collage or crayon resist, and add paint or clay once the routine feels easy.
Why Crafting Matters for Young Children
Crafting works small muscles and big ideas at the same time. Tearing paper, pinching clay, and squeezing glue build the hand strength children later use for writing. Choosing colors, arranging pieces, and deciding when a project is finished builds planning and confidence.
Crafts also give children something to talk about. A child who cannot yet explain a feeling can often show it through color and shape, then describe it when an adult asks a gentle question.
What to Offer at Each Age
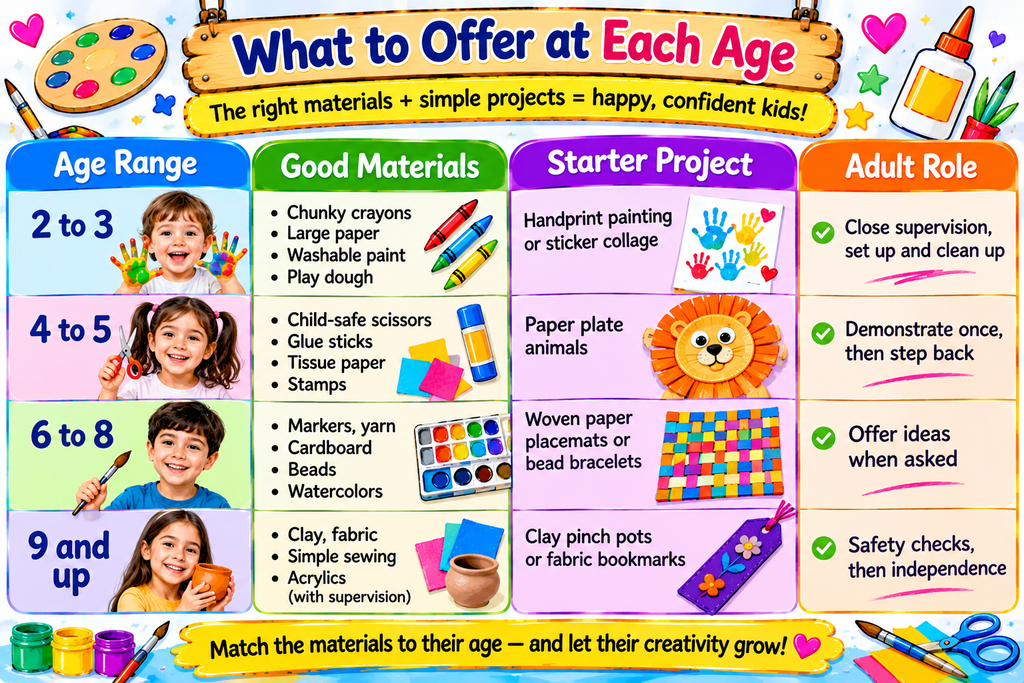
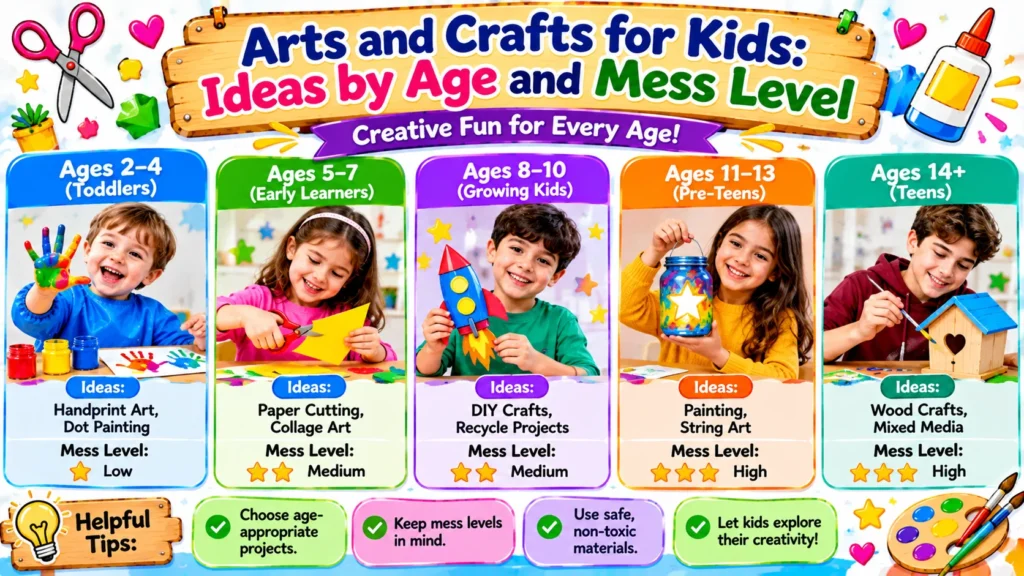
Children do not need the same materials at every stage. Tools that are too fiddly cause frustration, and projects that are too simple get abandoned. Use this table as a starting point, then adjust to the individual child.
| Age range | Good materials | Starter project | Adult role |
| 2 to 3 | Chunky crayons, large paper, washable paint, play dough | Handprint painting or sticker collage | Close supervision, set up and clean up |
| 4 to 5 | Child-safe scissors, glue sticks, tissue paper, stamps | Paper plate animals | Demonstrate once, then step back |
| 6 to 8 | Markers, yarn, cardboard, beads, watercolors | Woven paper placemats or bead bracelets | Offer ideas when asked |
| 9 and up | Clay, fabric, simple sewing, acrylics with supervision | Clay pinch pots or fabric bookmarks | Safety checks, then independence |
If a child seems stuck, move one row down. If they finish in a few minutes and ask for more, move one row up.
The 3-Bin Craft Kit
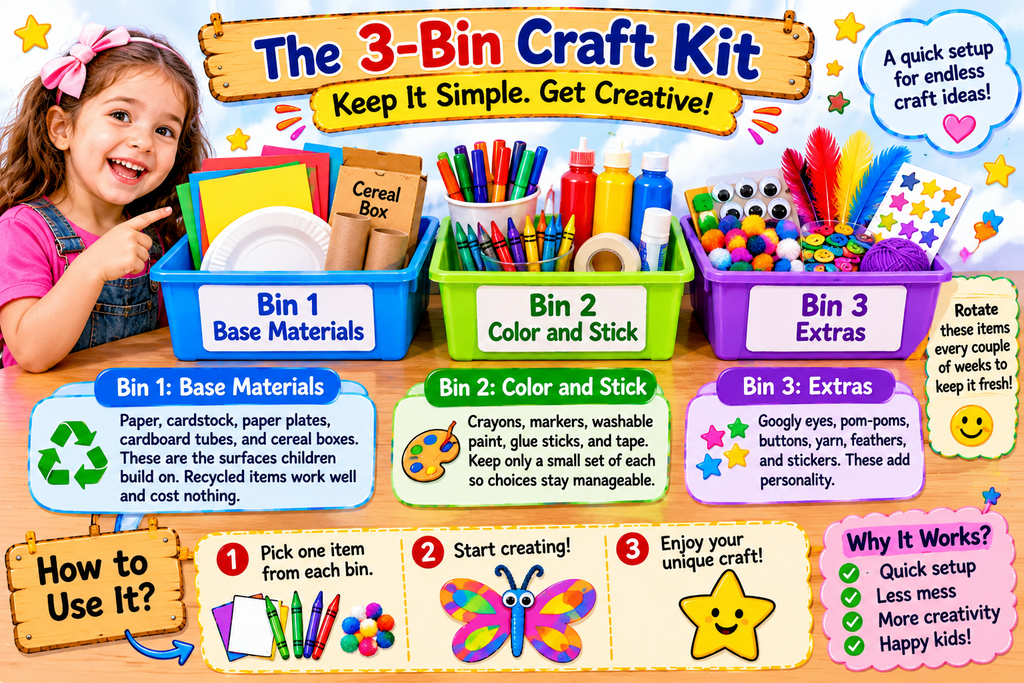
The biggest barrier to regular crafting is setup. This simple framework keeps materials organized so a craft session can start in minutes. Each bin has one job.
Bin 1: Base Materials
Paper, cardstock, paper plates, cardboard tubes, and cereal boxes. These are the surfaces children build on. Recycled items work well and cost nothing.
Bin 2: Color and Stick
Crayons, markers, washable paint, glue sticks, and tape. Keep only a small set of each so choices stay manageable.
Bin 3: Extras
Googly eyes, pom-poms, buttons, yarn, feathers, and stickers. These add personality. Rotate what is in this bin every couple of weeks so the same box feels new.
To start any session, ask the child to pick one item from each bin. That small constraint often leads to surprisingly original results, and it removes the “I don’t know what to make” problem.
Craft Types Compared by Mess and Prep
Not every craft suits every day. Use this comparison to pick the right activity for your energy level.
| Craft type | Mess level | Prep time | Skills practiced |
| Collage | Low | Very short | Cutting, sorting, design |
| Crayon resist | Low | Short | Planning, color mixing |
| Painting | Medium | Medium | Brush control, color knowledge |
| Play dough and clay | Medium | Short | Hand strength, 3D thinking |
| Recycled sculptures | Medium | Medium | Problem solving, engineering |
| Sewing and weaving | Low | Medium | Patience, fine motor control |
On a busy day, choose collage or crayon resist. On a relaxed weekend, try recycled sculptures, which pair well with ideas from easy STEM activities for preschoolers.
Safety Basics Worth Checking First
Good crafting starts with safe materials. A few quick checks protect younger children without taking the fun out of the activity.
- Look for labels: Choose art supplies marked as non-toxic, such as products carrying the ACMI AP seal.
- Watch for small parts: For children under three, avoid beads, buttons, and anything small enough to fit through a toilet paper tube.
- Use the right scissors: Child-safe scissors with rounded tips are best for ages four and up.
- Cover the workspace: Newspaper or a plastic sheet saves cleanup time.
- Supervise glue and paint with toddlers: Young children often taste what they touch.
Skills Hidden Inside Every Project
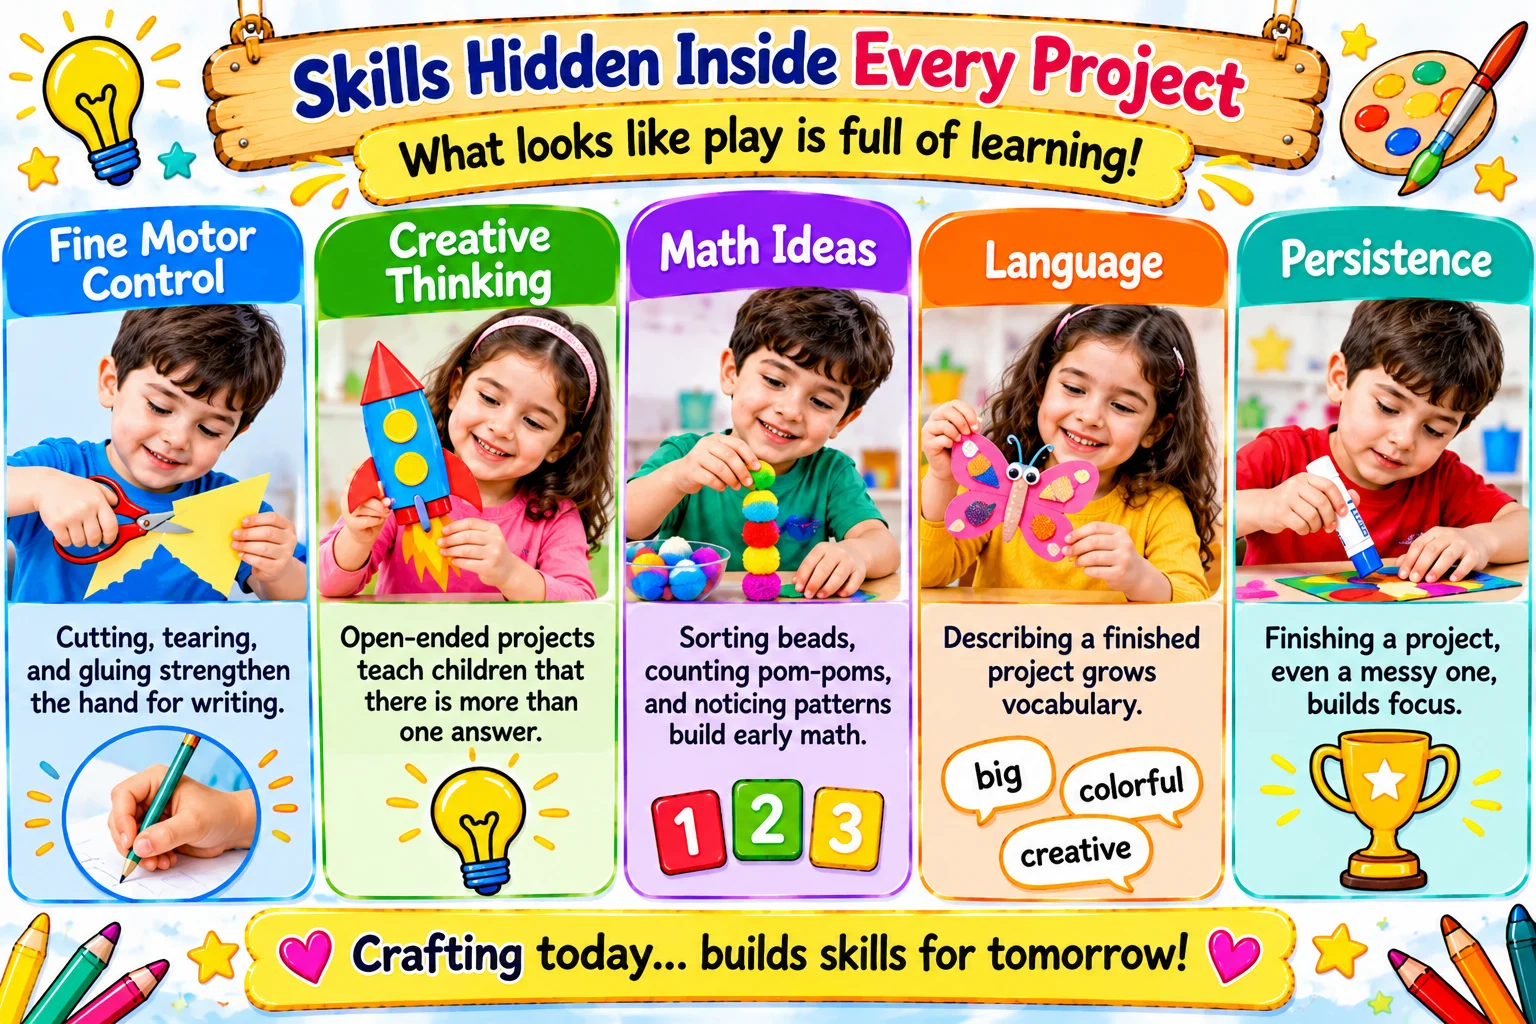
What looks like play is full of learning. Here is what children practice during these projects:
- Fine motor control: Cutting, tearing, and gluing strengthen the hand for writing.
- Creative thinking: Open-ended projects teach children that there is more than one answer.
- Math ideas: Sorting beads, counting pom-poms, and noticing patterns build early math.
- Language: Describing a finished project grows vocabulary.
- Persistence: Finishing a project, even a messy one, builds focus.
For seasonal projects that use these skills, browse our ideas for holiday activities and crafts for kindergarteners.
Craft Session Checklist
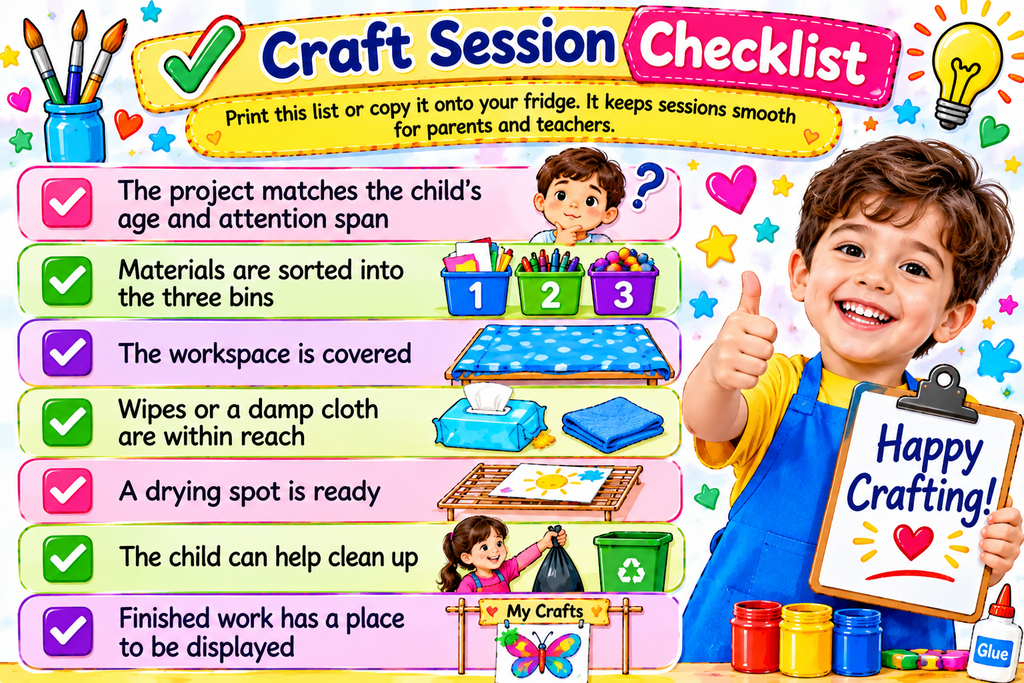
Print this list or copy it onto your fridge. It keeps sessions smooth for parents and teachers.
- The project matches the child’s age and attention span
- Materials are sorted into the three bins
- The workspace is covered
- Wipes or a damp cloth are within reach
- A drying spot is ready
- The child can help clean up
- Finished work has a place to be displayed
Glue Dries, Ideas Stick
Crafting does not need expensive supplies or perfect results. A few well-organized materials, a project that fits the child’s age, and a relaxed attitude are enough to make creative time something everyone looks forward to. Praise effort, ask open questions, and let each finished piece lead to the next idea.
This week, set up your three bins and try one new project from this guide. Arts and crafts for kids become easier every time you repeat the routine.