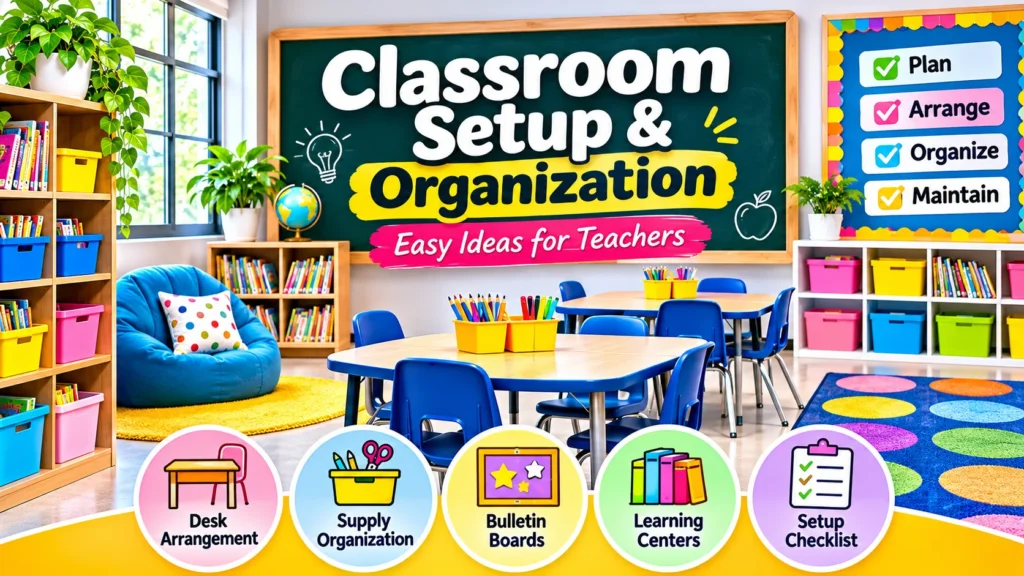
Walking into an empty classroom before the school year can feel exciting and overwhelming. There are desks to arrange, supplies to sort, bulletin boards to decorate, and daily routines to prepare. With so many decisions, it is easy to spend hours decorating without considering how the room will actually function.
An effective classroom setup is about more than colorful walls and matching storage bins. It should help students find their materials, move around safely, follow routines, and participate in learning activities with increasing independence.
Whether you are preparing your first kindergarten classroom, reorganizing a small elementary room, or refreshing an existing learning space, this guide will help you make practical decisions without unnecessary spending.
You will learn how to arrange classroom furniture, organize supplies, prepare morning activities, make student name tags, design creative bulletin boards, and maintain an organized learning environment throughout the year.
1. Start With a Classroom Organization Plan
Before buying decorations or moving furniture, think about what students need to do during a typical school day.
Students arrive, put away their belongings, collect materials, participate in lessons, work independently, collaborate with classmates, and clean up before leaving.
Each activity needs an accessible location.
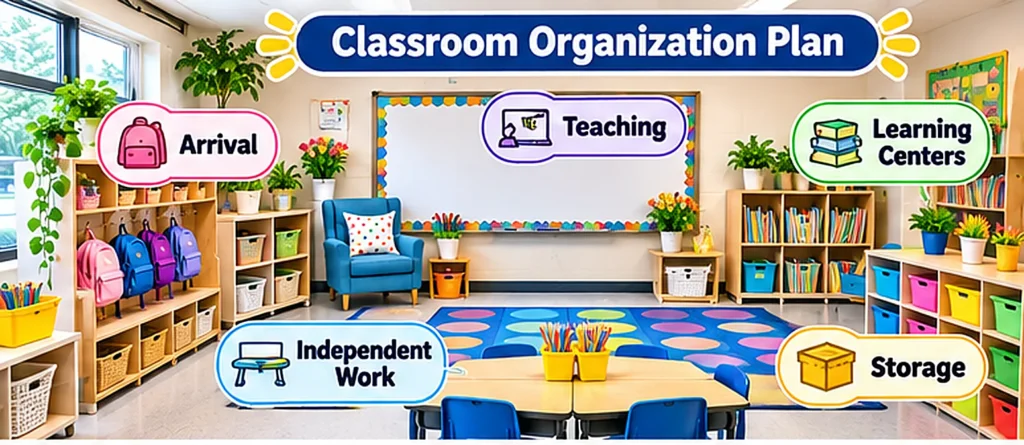
A simple way to plan your classroom set up is to divide the room into five functional zones.
| Classroom Zone | Main Purpose | Recommended Materials |
|---|---|---|
| Arrival area | Help students settle in | Backpack hooks, cubbies, welcome sign |
| Teaching area | Whole-class instruction | Whiteboard, display materials, teaching supplies |
| Independent work area | Focused learning | Desks, pencils, folders, task trays |
| Learning centers | Small-group and hands-on activities | Books, manipulatives, activity baskets |
| Storage area | Keep materials organized | Labeled bins, shelves, paper organizers |
Start by placing essential furniture and checking traffic flow. Make sure students can reach frequently used materials without crowding doorways or blocking pathways.
Keep the main teaching display visible from student seating areas, and avoid placing tall shelving where it obstructs supervision.
Practical tip: Walk through the classroom as though you are a student arriving on the first day. Can you find your seat, locate a pencil, and understand where to put your backpack?
If the answer is unclear, simplify the arrangement before adding decorations.
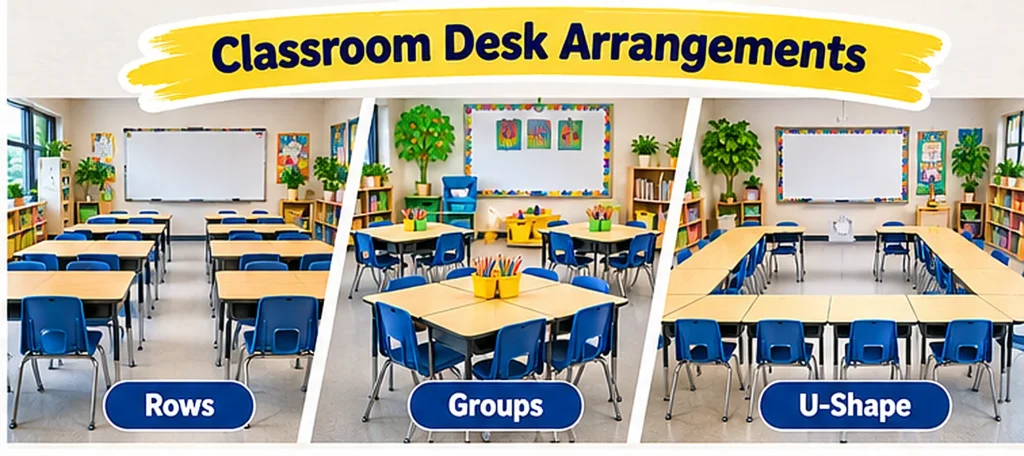
2. Choose the Best Classroom Desk Arrangement
There is no single seating arrangement that works for every classroom. The best option depends on student age, class size, instructional activities, available space, and accessibility needs.
Traditional Rows
Rows can be useful for direct instruction, individual assignments, and lessons that require everyone to face the same teaching area.
They also make it easier to establish clear seating positions.
However, students may need to rearrange themselves for collaborative activities.
Small Desk Groups
Groups of four to six desks can support discussion, partner activities, and shared classroom materials.
Place a small supply container in the center of each group to reduce unnecessary movement.
Because grouped desks can encourage conversation, establish clear expectations for independent work and discussion time.
U-Shaped Arrangement
A U-shaped seating arrangement gives students a view of the main teaching area and can support class discussions.
It may be less practical in a crowded room because it requires additional floor space.
Flexible Seating Areas
Some classrooms use a combination of desks, floor seating, and small-group tables.
Flexible arrangements can provide options for different learning activities, but every student still needs an appropriate work surface and accessible seating.
Choosing the right arrangement:
- Small classroom: Begin with compact rows or small desk groups.
- Collaborative lessons: Consider grouped tables.
- Discussion-focused activities: Try a U-shape where space allows.
- Kindergarten: Include room for whole-group activities and hands-on learning centers.
Whichever arrangement you choose, follow school safety requirements and keep exits and accessible routes clear.
3. Organize Classroom Supplies So Students Can Find Them
A beautiful classroom can become cluttered within days if supplies do not have designated storage locations.
The most useful organization systems are the ones students can understand and maintain.
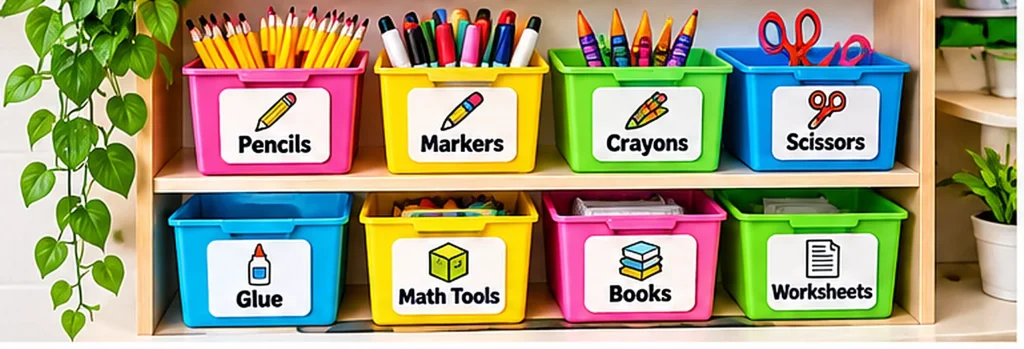
Use Clearly Labeled Storage Bins
Group similar items together, including:
- Pencils, erasers, and sharpeners
- Markers, crayons, and colored pencils
- Glue, scissors, and craft materials
- Math manipulatives
- Reading resources
- Worksheets and activity cards
For younger students, combine written labels with simple pictures.
A bin labeled “Crayons” with a crayon illustration is easier for a beginning reader to recognize than a text-only label.
Create a Paper Management System
Set up separate locations for unfinished work, completed assignments, and teacher materials.
For example:
| Label | Purpose |
|---|---|
| Pick Up | Worksheets and materials students need |
| Turn In | Completed classroom assignments |
| Finish Later | Unfinished activities |
| Take Home | Notices and approved family materials |
Explain each location and demonstrate how to use it.
Organize Materials by Frequency of Use
Keep everyday items within easy reach. Store seasonal decorations, replacement supplies, and rarely used resources separately.
Avoid placing heavy items above children’s reach.
Introduce a Daily Cleanup Routine
Reserve a few minutes at the end of the day for students to return supplies, organize their workspaces, and check shared areas.
A clear storage system makes this routine much easier to teach.
4. Prepare Morning Work That Makes Arrival Easier
The first few minutes of school can influence how smoothly the day begins.
Students are arriving at different times, unpacking belongings, greeting friends, and preparing for lessons. Without a predictable routine, the classroom can quickly become noisy and disorganized.
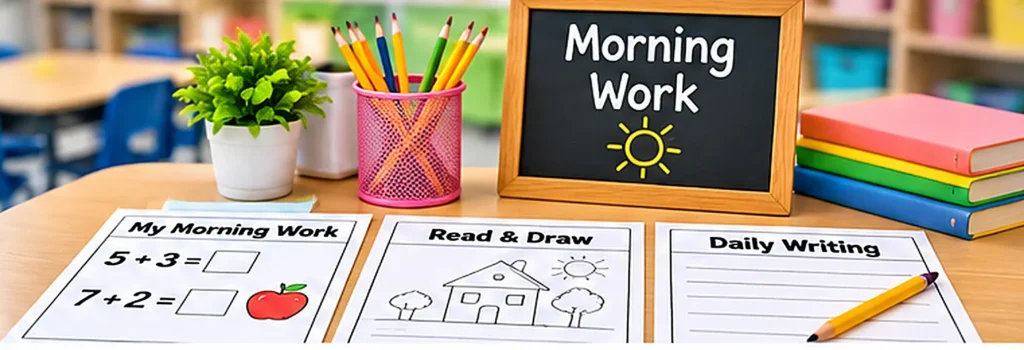
Morning work provides an optional, structured activity that students can begin with minimal assistance.
The goal is not to fill every available minute with worksheets. Some children benefit from a calmer transition into the school day, especially in preschool and kindergarten.
10 Easy Morning Activity Ideas
- Name writing practice: Students practice writing their first names or forming letters.
- Number of the day: Students write, draw, or represent a number.
- Picture prompts: Display an image and ask students to describe what they notice.
- Independent reading: Children choose familiar books from the classroom library.
- Sentence building: Students arrange word cards into simple sentences.
- Math review: Provide a few previously taught addition, subtraction, or counting problems.
- Journal writing: Invite students to respond to a short daily prompt.
- Pattern building: Use blocks, counters, or picture cards to create and extend patterns.
- Question of the day: Let students respond using sticky notes, pictures, or an attendance chart.
- Quiet drawing: Provide an open-ended drawing activity connected to a classroom theme.
Morning Activities by Grade Level
| Grade Level | Recommended Activities |
|---|---|
| Preschool | Picture matching, play-based activities, blocks, drawing |
| Kindergarten | Name practice, counting objects, letter recognition |
| Grade 1 | Phonics review, simple math, drawing and writing |
| Grade 2 | Sentence editing, reading responses, math practice |
| Grades 3–5 | Journals, problem-solving, vocabulary, independent reading |
Establish a Simple Arrival Routine
Post a visual sequence near the classroom entrance:
- Greet your teacher.
- Put away your backpack.
- Place your folder in the correct location.
- Choose or collect the morning activity.
- Begin quietly or join the designated learning area.
Model the routine during the first week rather than expecting students to understand it immediately.
For preschool students, offer play-based and hands-on choices alongside any brief teacher-directed tasks.
Teacher tip: Prepare a few reusable activity trays so you do not need to print new worksheets every morning.
5. Unique Bulletin Board Ideas That Are Creative and Useful
Bulletin boards can make a classroom welcoming, but they are most valuable when they support learning or celebrate students’ contributions.
Instead of filling every wall with permanent decorations, reserve space for displays that change throughout the year.
Here are ten creative ideas.
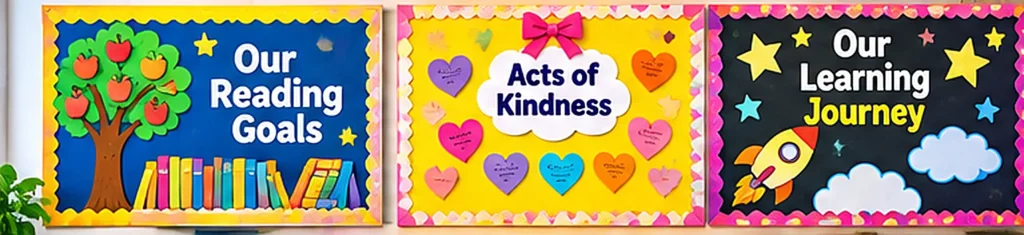
1. Our Learning Journey
Create a road or pathway across the board.
Add milestones representing topics, books, projects, or skills students explore during the school year.
Students can contribute drawings or short reflections.
2. Interactive Question of the Week
Post an age-appropriate question and invite students to respond with sticky notes, picture cards, or reusable answer labels.
Questions might include favorite book genres, science predictions, or classroom preferences.
3. Reading Adventure Board
Design a bookshelf, reading tree, or book-themed display.
Allow students to recommend books by adding titles or illustrated review cards.
Avoid turning reading into an unhealthy competition based only on the number of books completed.
4. Kindness Garden
Create paper flowers with space for students to record thoughtful acts or appreciation messages.
Use the display to encourage discussion about cooperation and respect.
5. Our Amazing Artwork
Dedicate a board to student art and rotate contributions regularly.
Provide display opportunities for every student instead of showing only selected work.
6. Classroom Helper Station
Create a visual chart showing classroom responsibilities such as materials helper, board assistant, or library organizer.
Rotate responsibilities so students can participate fairly.
7. Seasonal Learning Board
Use seasonal colors and illustrations while connecting displays to educational activities.
For example, a fall board could feature leaf observations, descriptive words, or weather patterns.
8. Math Problem of the Week
Display an accessible math challenge.
Invite students to submit drawings, models, or written explanations of their thinking.
9. Vocabulary Word Wall
Organize frequently used words, subject vocabulary, or student-generated terms.
Use readable lettering and introduce words through classroom instruction.
10. Our Classroom Community
Display student self-portraits, approved first names, shared goals, and classroom agreements.
This helps personalize the space without requiring expensive decorations.
Bulletin Board Design Tips
Choose two or three complementary colors, use large lettering, and avoid placing too many unrelated elements together. Make displays readable from the distance at which students will use them. For younger children, picture-supported labels are especially helpful. Keep some display space available for anchor charts and student-created work.
[IMAGE 05: A collage of four separate classroom bulletin board concepts: reading, kindness, interactive questions, and student artwork.]
6. How to Make a Name Tag for Student Desks
Student name tags are a simple way to personalize classroom spaces and help children identify their belongings.
They can also support name recognition and early writing activities.
You do not need expensive supplies to create attractive, practical labels.
Materials Needed
- Cardstock or sturdy paper
- Markers or colored pencils
- Ruler
- Scissors
- Glue or school-approved adhesive
- Optional laminating sheets
- Printable name-tag templates
Step-by-Step Instructions
Step 1: Choose the Size
Measure the available space on desks, cubbies, or storage containers.
Choose a label size that leaves sufficient room for a readable name.
Step 2: Cut the Paper
Cut cardstock into rectangles or another simple shape.
Use consistent sizes to make the finished labels easier to arrange.
Step 3: Write or Print the Names
Write each student’s name using large, clear letters.
For early learners, consider letter formation appropriate to the school’s handwriting instruction.
Step 4: Add Simple Decorations
Use colored borders, small pictures, or matching classroom-themed designs.
Avoid adding so many decorations that the name becomes difficult to read.
Step 5: Protect the Labels
Laminate or cover the paper with a suitable protective material if repeated cleaning is expected.
Lamination is optional.
Step 6: Attach the Name Tags
Place labels on the intended desks or storage spaces using an attachment method approved by your school.
Avoid covering important desk features or creating sharp edges.
Creative Student Name Tag Ideas
| Name Tag Style | Best Use |
|---|---|
| Rainbow borders | Colorful elementary classroom |
| Alphabet design | Preschool and kindergarten |
| Pencil-shaped tags | Back-to-school theme |
| Animal illustrations | Early learning classrooms |
| Minimal black-and-white tags | Simple, low-cost organization |
| Reusable plastic sleeves | Classrooms with changing seating arrangements |
Use approved student information only, especially for labels visible to visitors or the public.
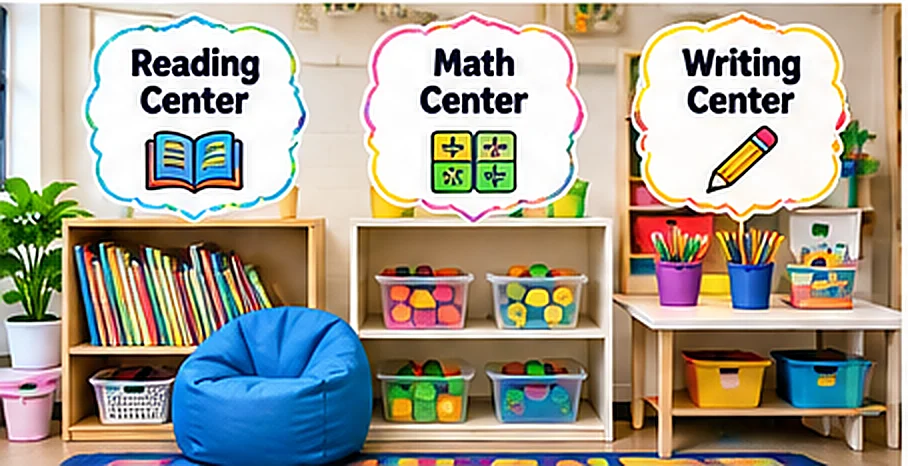
7. Create Functional Classroom Learning Centers
Learning centers give students designated places for particular activities.
They do not need to be elaborate or expensive. A small shelf, tabletop, or labeled basket can serve as a useful learning station.
Reading Corner
Choose a relatively quiet area and organize books in accessible baskets.
Include a small rug or appropriate seating if space allows.
Display books with their covers visible when possible so younger readers can recognize them.
Math Center
Store counting cubes, number cards, pattern blocks, and other manipulatives in clearly marked containers.
Provide simple instructions that students can follow after teacher modeling.
Writing Station
Prepare paper, pencils, alphabet references, and appropriate writing prompts.
Keep extra materials accessible without overcrowding the work surface.
Art and Creativity Area
Organize washable supplies, paper, drawing materials, and approved craft tools.
Place materials requiring adult supervision in a separate location.
Quiet Learning Space
Some students benefit from an area with fewer distractions.
A simple quiet space might include a comfortable chair, books, visual supports, or approved calming materials.
It should remain appropriately supervised and accessible.
Small-classroom solution: Instead of creating five permanent centers, rotate materials through two or three stations. Portable baskets make activities easier to change without moving furniture.
8. Make Classroom Organization Inclusive and Accessible
An organized classroom should work for the students who actually use it.
Consider differences in height, mobility, vision, attention, language, and sensory preferences when arranging materials.
Helpful practices include:
- Keeping accessible pathways clear.
- Placing frequently used materials within appropriate reach.
- Pairing labels with pictures where helpful.
- Displaying predictable routines in words and images.
- Reducing unnecessary visual distractions around important information.
- Providing suitable seating and workspaces.
- Making instructions available in accessible formats when needed.
For multilingual classrooms, consider adding appropriate multilingual labels.
Avoid assuming that every child benefits from the same seating arrangement or activity.
Work with your school’s accessibility team and applicable student support plans when individual accommodations are required.
9. Use Simple Digital Tools for Classroom Organization
Digital platforms can support classroom organization, particularly for distributing assignments, communicating with families, and storing instructional resources. However, software should complement practical classroom routines rather than replace them.
For example, a school-approved learning platform may help teachers organize assignments and digital materials, while classroom labels and supply systems help students manage physical resources. Keep family communication consistent, protect student information, and offer appropriate alternatives for families with limited internet access. For elementary teachers, simple routines are often more manageable than introducing several overlapping apps.
10. Set Up a Classroom on a Small Budget
Creating an inviting learning environment does not require purchasing an entirely new collection of classroom decorations.
Start by checking which materials the school already provides.
Prioritize Essential Items
Focus first on seating, instructional materials, basic supplies, storage, and safety.
Decorations can be added gradually.
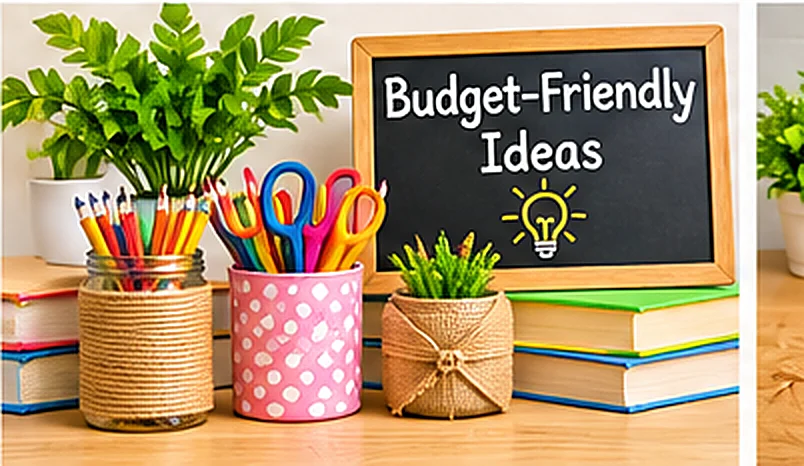
Reuse Existing Materials
Clean containers, sturdy boxes, reusable folders, and old binders can be repurposed for classroom organization if they are safe and suitable.
Make Your Own Classroom Decorations
Paper borders, student artwork, handmade posters, and printed labels are affordable alternatives to elaborate decoration sets.
Choose Reusable Displays
Instead of replacing bulletin board backgrounds every month, use neutral materials and change only the displayed content.
Avoid Unnecessary Purchases
Before buying an organizer, ask whether an existing shelf, container, or tray could solve the same problem.
Budget priority framework:
| Priority | Materials | Recommendation |
|---|---|---|
| Essential | Required supplies, safe furniture, basic storage | Prepare first |
| Important | Labels, folders, learning materials | Add next |
| Optional | Decorative borders, themed accessories | Purchase only if useful |
| Later | Extra storage and seasonal decorations | Add as needs become clear |
11. Classroom Setup Checklist for Teachers
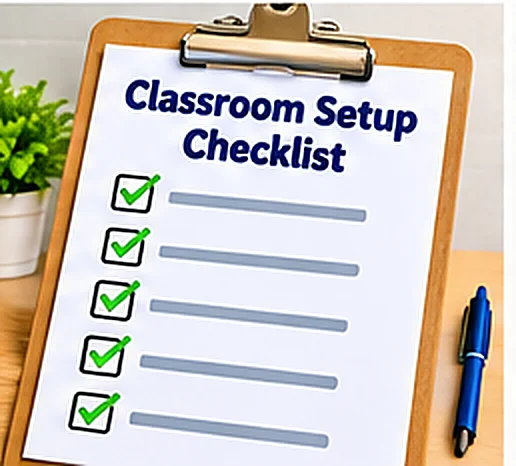
Use this checklist before students arrive.
Classroom Furniture and Layout
- Arrange desks and tables.
- Check walking paths and exits.
- Confirm students can see instructional displays.
- Prepare accessible seating and workspaces.
- Organize the teaching area.
Student Supplies
- Label supply bins.
- Prepare student folders.
- Organize worksheets and activity cards.
- Set up a completed-work station.
- Check frequently used materials.
Learning Areas
- Organize the classroom library.
- Prepare learning center materials.
- Set up a writing station.
- Establish a location for independent activities.
Classroom Decorations
- Prepare the welcome display.
- Make student name tags.
- Create useful bulletin boards.
- Display essential classroom routines.
- Reserve space for student work.
First-Day Preparation
- Review arrival and dismissal procedures.
- Prepare the opening activity.
- Check school-approved student records.
- Plan how to introduce classroom expectations.
- Complete a final classroom safety walkthrough.
Final check: Stand at the classroom entrance and examine the room from a student’s perspective. Essential materials and instructions should be easy to identify.
12. How to Keep Your Classroom Organized All Year
A classroom does not remain organized simply because everything looked perfect on the first day.
Successful systems need to be taught, practiced, and occasionally adjusted.
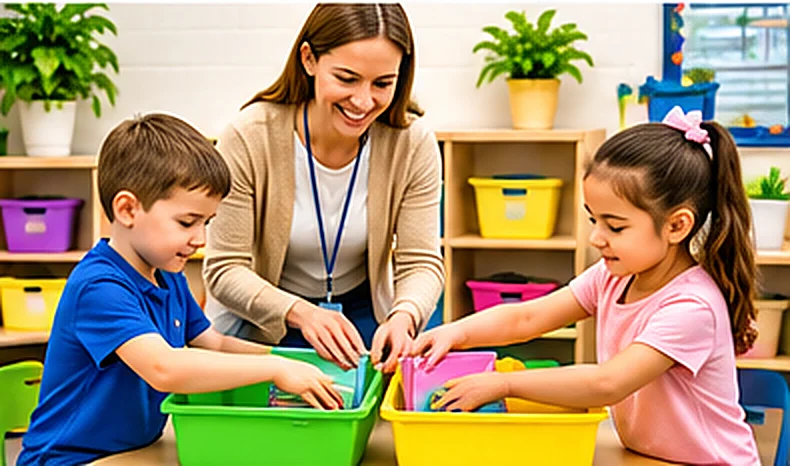
Establish a Five-Minute Daily Reset
Before dismissal, give students time to return shared materials, organize personal workspaces, and prepare for the next day.
Review Supplies Weekly
Check pencils, paper, art supplies, and activity materials.
Restock only what is needed and remove damaged or unnecessary items.
Rotate Learning Materials
Update activities according to current instruction, student readiness, and learning goals.
Refresh Bulletin Boards
Replace outdated information with student work, useful reference materials, or new interactive displays.
Ask Students What Works
Students may identify confusing labels, hard-to-reach materials, or overcrowded areas.
Use their feedback to improve the classroom environment.
A simple, reliable system is easier to maintain than a complicated arrangement that requires constant teacher attention.
Frequently Asked Questions
How do I set up a classroom for the first time?
Start by reviewing school requirements and arranging essential furniture. Next, create clearly labeled supply areas, prepare daily routines, organize student materials, and add functional learning displays. Finish with a safety and accessibility check before decorating.
What should I organize first in my classroom?
Begin with the areas students use most frequently: the entrance, seating, instructional space, storage, and assignment stations. These systems will affect everyday classroom routines more than decorative details.
What is the best classroom layout for elementary students?
The best layout depends on available space, grade level, class size, and teaching activities. Grouped desks support collaboration, while rows may be practical for focused individual work. Keep pathways accessible and ensure students can see the teaching area.
What are some easy morning activities for students?
Simple options include independent reading, name writing, drawing prompts, counting activities, pattern building, math review, and daily questions. Choose developmentally appropriate activities students can complete with minimal assistance after routines have been taught.
How can I organize a small classroom?
Use vertical shelving where safe, compact storage bins, portable learning centers, and clearly defined work areas. Avoid unnecessary furniture and keep frequently used supplies close to where students need them.
How can I make classroom bulletin boards more creative?
Try interactive questions, book recommendations, student artwork, kindness displays, math challenges, and rotating classroom projects. Keep displays readable and connect them to meaningful learning activities.
What materials do I need to make student name tags?
Most classroom name tags can be made with cardstock, markers, scissors, and adhesive. Printable templates and protective covering are optional additions.
How can I decorate my classroom without spending much money?
Reuse safe containers, make paper decorations, display student artwork, and create simple labels. Prioritize functional classroom materials before purchasing decorative accessories.
How do I keep my classroom organized every day?
Teach students how to use shared storage, build short cleanup routines into the school day, and check frequently used materials regularly. Make changes when a system becomes confusing or difficult to maintain.
Final Thoughts
A welcoming classroom is not defined by expensive furniture or perfectly coordinated decorations.
The most useful learning spaces are organized around student needs, everyday routines, accessible materials, and meaningful activities.
Start with a practical classroom setup, build predictable systems, prepare engaging learning areas, and add decorative details that support your teaching goals.
You do not have to complete everything at once. A thoughtful foundation, followed by small adjustments throughout the school year, can create a classroom that is easier to manage and more welcoming for students.